I always knew the importance of keeping records clean. When I was younger, I used a record “brush” to sweep the dust away before lowering the stylus. As I grew older, that habit remained, but I realized that wasn’t enough. It may have been because I was buying more used records, some of which were decades old. It was apparent their previous owners hadn’t had the same care I did with handling their records. I encountered fingerprints and grimy grooves. Most times, a record brush did nothing more than sweep the surface and push the grime even deeper.
This was when I explored record-cleaning machines. There are many on the market, from immersion baths to vacuums to ultrasonic cleaners. The price ranges were all over the charts and intimidating. I was overwhelmed with choices. If I was going to spend a few hundred dollars on a record-cleaning solution, I wanted to do the right thing.
My first purchase was the Spin-Clean. It’s a great option that hovers around the $100 price point. When I bought a poor copy of The Rolling Stones Black and Blue, I encountered the Spin-Clean’s limitations. That record was DIRTY, and nothing I did seemed to eliminate those pops and clicks, which meant something was terribly wrong deep inside that invisible chasm called a groove.
Enter the Record Doctor VI
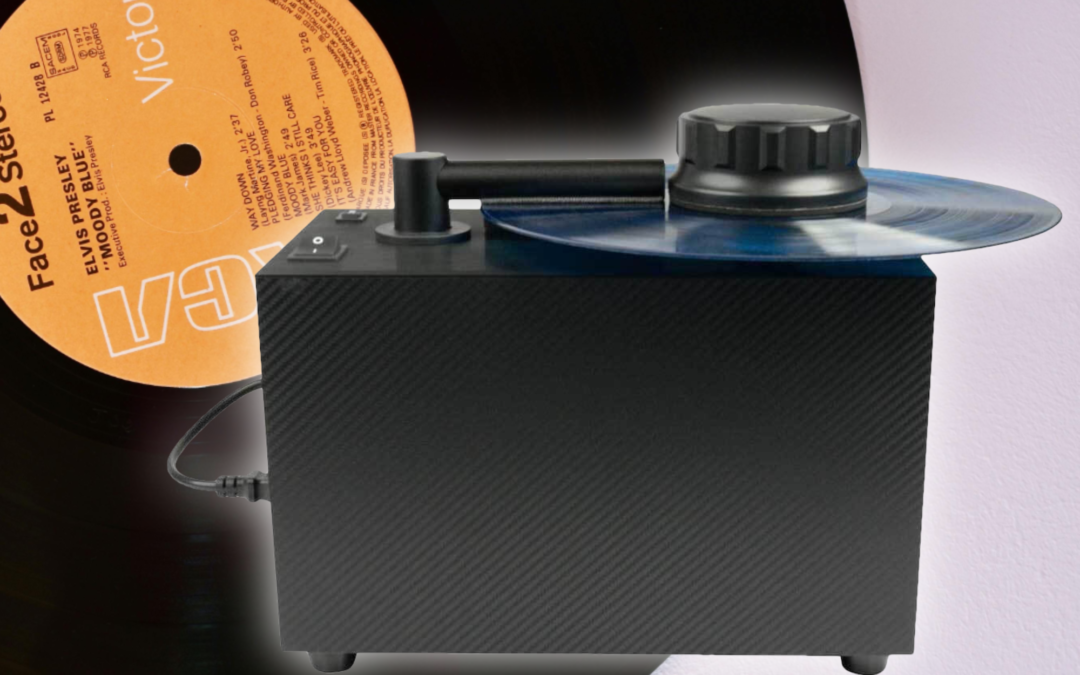
My next step was the Record Doctor VI – a true machine with a vacuum that sucks the particles away after spreading a custom solution with surfactants, emulsifiers, and degreasers to get deep into the groove. Once the solution is spread, a manual process of turning a label-protecting clamp allows the vacuum to do its work.
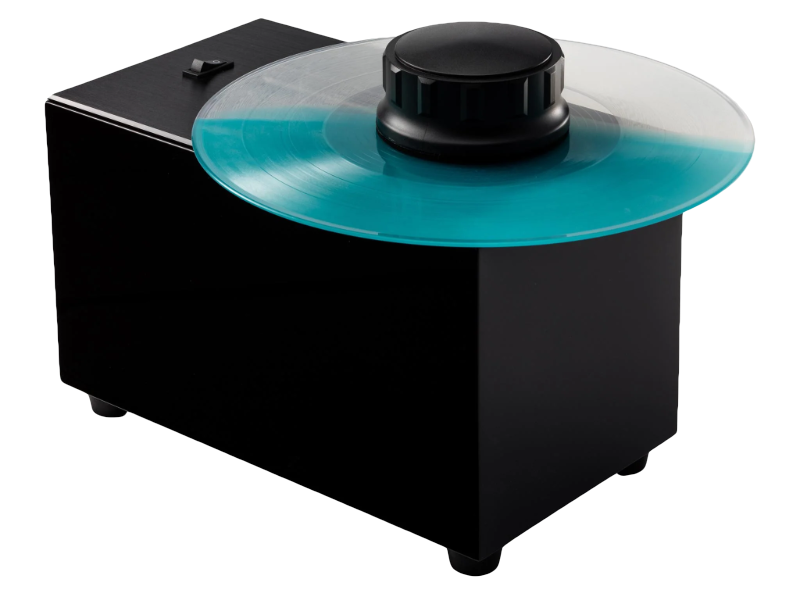
My first test was that old copy of Black and Blue (which had been sitting unplayed on an overflow shelf in my attic).
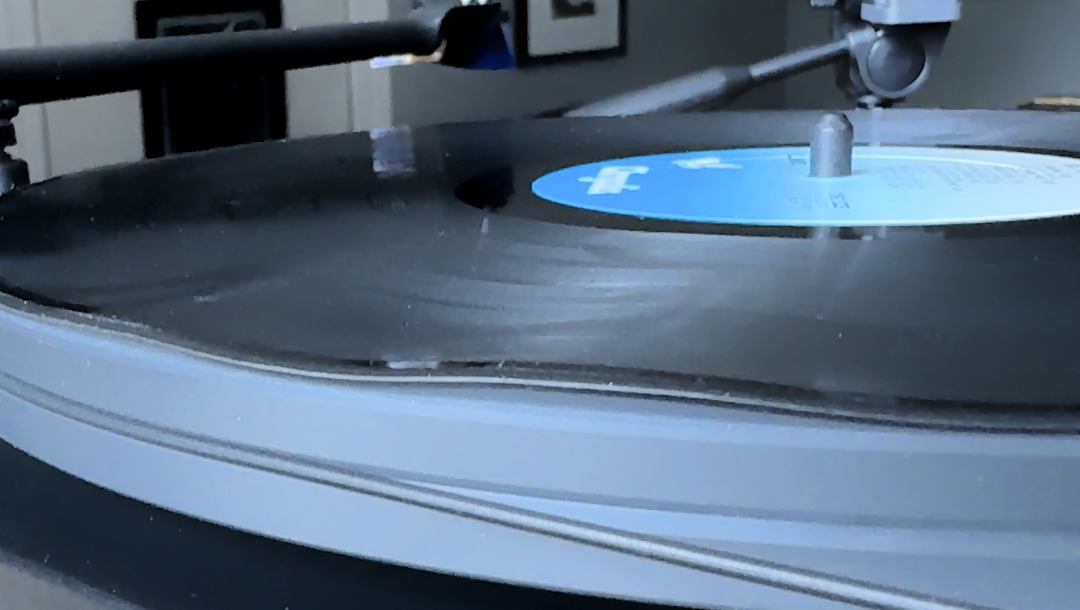
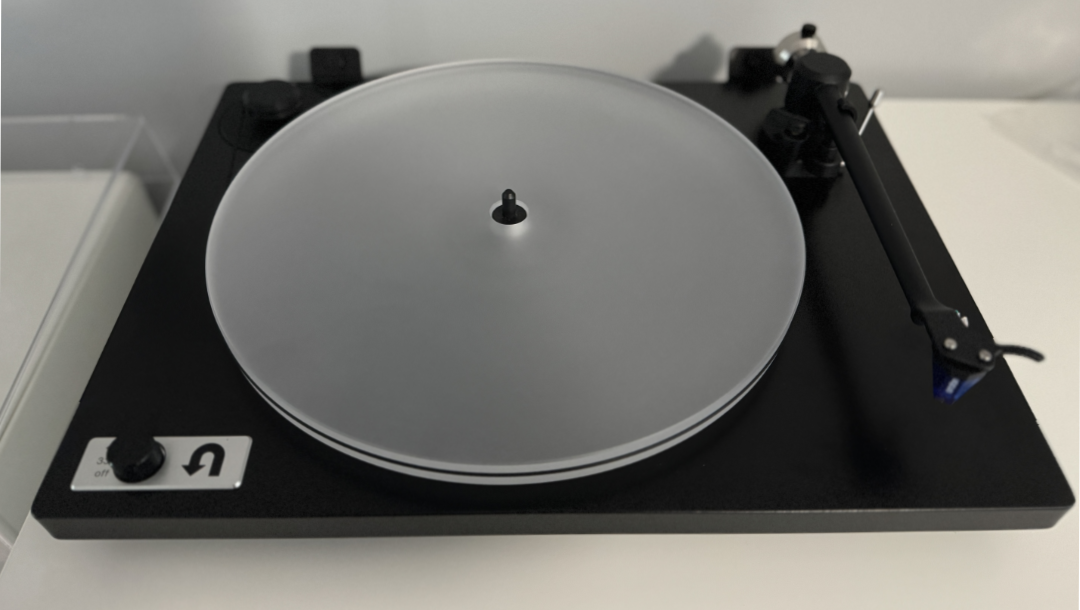
After cleaning it with the Record Doctor VI, the real test came, and I placed it on my turntable.
It sounded wonderful!
Gone were these pops and clicks.
I was so impressed that I cleaned my entire collection using the Record Doctor VI, which at the time had broken the 1,000 record mark. It took weeks, but at the end, I had earned my Record Doctor PHD.
I still used my trusty old Spin-Clean to perform a post-rinse with distilled water, and then it went back on the Record Doctor VI to clean it all off.
Make Way for The Record Doctor X
After a couple of years and over a thousand records put through the RD VI, I dreaded cleaning records. It wasn’t any fault of the RD VI; it was more the fact that I had to stand in one place and manually turn the disc to clean it. One or two records were fine, but when it involved over three records, I could count on 20-30 minutes of my time cleaning them. As a result, I looked at automatic vacuum solutions that turned the platter for you and allowed you to do something else while the vacuum did its job.
It was at this time I purchased the Pro-Ject VC-E2 cleaning machine. There were two differences – it was automatic, and the vacuum was located above the record instead of below. It was a viable solution, but I still preferred the vacuum power of the old RD VI.
The good folks at Record Doctor then released a new version—the Record Doctor X (skipping versions 6, 7, 8, and 9). Not only was it automatic, but it had two vacuums—one on top and one on bottom—the ultimate record vacuum.
Within a couple of months, I had one to test.
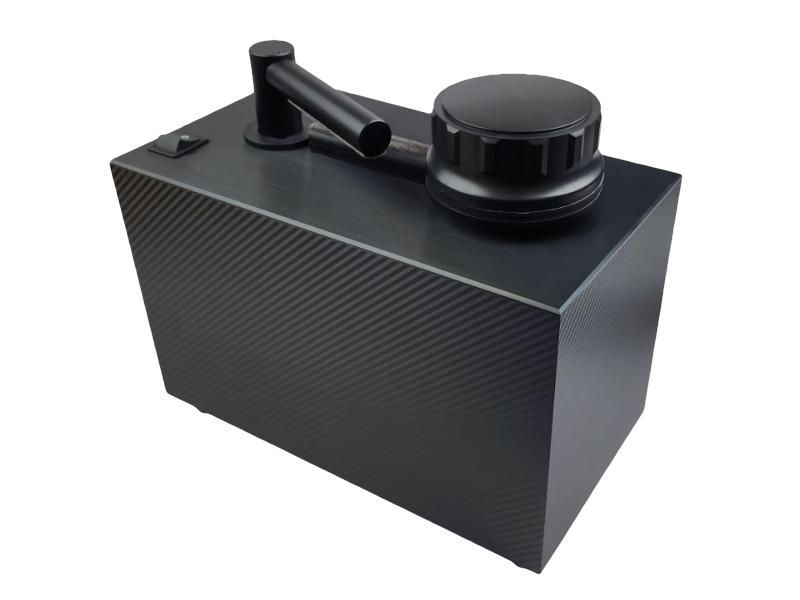
It was record-cleaning nirvana. Not only could I do something else while cleaning records, but it took half the time to do so. Between it and the Spin-Clean post-rinse, I no longer viewed record cleaning as an afternoon activity. To clean a record took 3-4 minutes at most – compared to 10-15!
Tips
Now that I’ve lived with the RDX for a few weeks, here are a few tips should you get your own.
Mark The Clamp
Unfortunately, the clamp is not marked. I like to allow a couple of full rotations for the initial clean and then the post-rinse clean. That means I have to watch it. To know when I’ve completed a full revolution, I placed a small piece of red tape on the top of the clamp. Perhaps the next iteration will solve for this (the RDX.2, perhaps?).
Moisten the Brush
I prefer the RD VI’s Clean Sweep nylon brush over the RDX’s goat hair brush. Goat hair brushes ten to shed strands of hair. The Clean Sweep’s nylon bristles are incredibly soft and do the job well. I moisten the bristles with distilled water before using it. It helps spread the cleaning fluid over the record when damp.
Invest in Replacement Sweeper Strips
After many records, perhaps a couple hundred, you’ll notice the felt sweeper strips over the vacuum slots will fray, become worn, and lose their felt. You can buy replacement strips to keep things moving along. You don’t want your records to encounter an unprotected vacuum slot.
Empty the Water
Unfortunately, you can’t see inside the RDX to see how much fluid it has sucked up. I’m in the habit of emptying the reservoir after twenty records. You can do so by removing a small plug on the bottom of the machine.
Keep a Dry Micro-Fiber Cloth Nearby
If I’m cleaning multiple records, I’ve noticed that some of the dust from the solution being sucked away will cling to the sweeper strip and end up on the record at the point where it stops turning. A quick swipe of the cloth will remove this.
Cons?
To be honest, there aren’t any. Remember, it’s a vacuum, so it’s not quiet. If you’re cleaning several records at a time, give your ears a break with earplugs or cotton.
Also, the RDX’s spindle is a small screw for the clamp to screw onto. If you’re at all clumsy or easily distracted (like me), be aware that the screw is metal, and you could scrape your record or your label on it if you’re not paying attention. This has never happened to me, and awareness is everything.
Grade
If I were to give the RDX a grade, it would be a solid “A” for me.
If you’d like to see a video of my process, you can check it out on my YouTube channel.
– READ NEXT –
Subscribe to The Joy of Vinyl Newsletter

